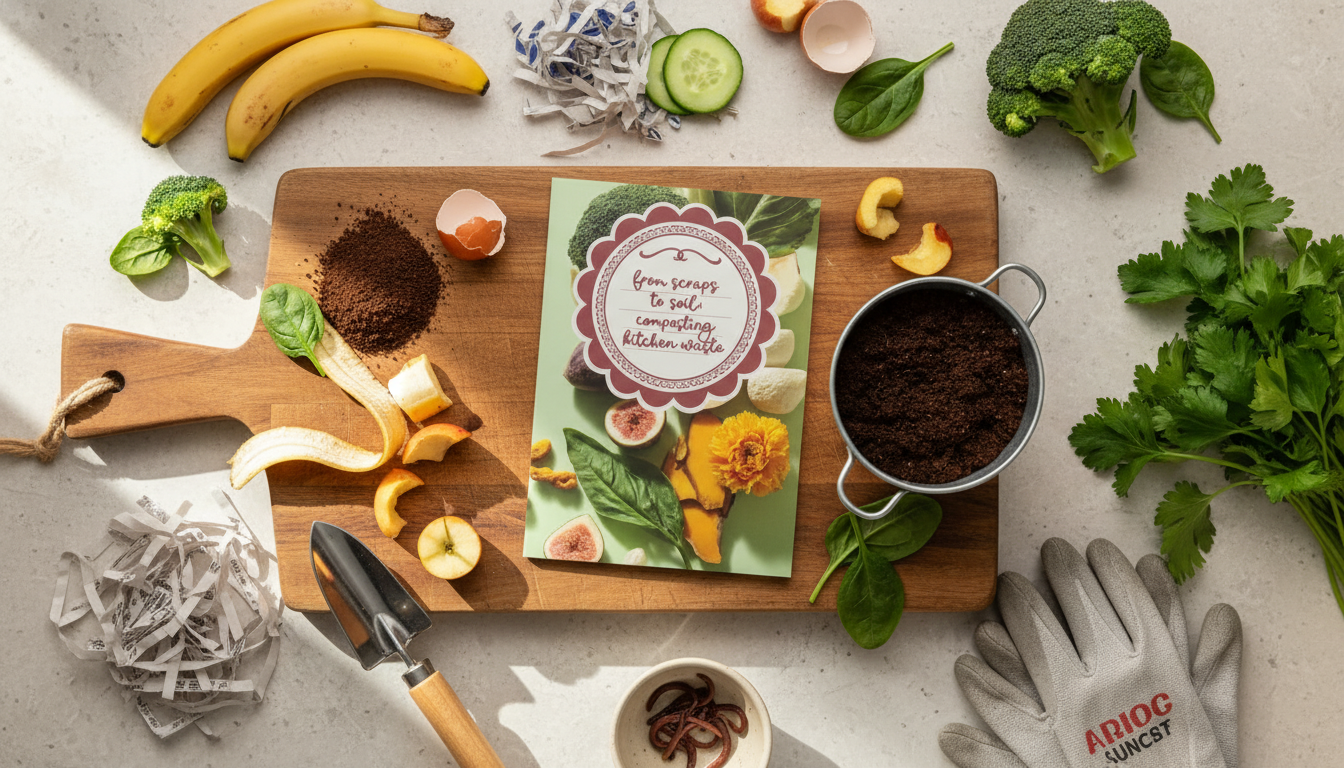
Composting turns everyday kitchen scraps into dark, crumbly material that feeds plants, improves soil structure, and helps reduce how much waste ends up in the trash. With a few basic rules—balancing “greens” and “browns,” keeping the pile lightly moist, and adding airflow—most beginners can build a simple, low-odor system that fits an apartment, patio, or backyard.
Compost is decomposed organic material made by microscopic helpers (bacteria, fungi, and other decomposers) working with moisture, oxygen, and time. When conditions are right, those microbes break down scraps and yard waste into a stable, soil-like amendment that’s easy to spread and gentle on plants.
Kitchen scraps are a dependable “green” (nitrogen-rich) ingredient. Greens help drive fast decomposition, especially when they’re paired with enough “browns” (carbon-rich materials) that add structure and prevent wet, smelly clumps.
In gardens and houseplants, compost improves water retention, loosens heavy soil, and adds slow-release nutrients. It also reduces trash: sending fewer organics to landfill can help lower methane emissions that come from oxygen-starved decay. For more basics and best practices, see the EPA’s overview of home composting: https://www.epa.gov/recycle/composting-home.
The “best” composting method is the one that matches your home, your habits, and how much food waste you generate. A smart starting point is a small lidded container on the counter (or under the sink) so scraps don’t wander into the trash.
| Method | Best for | Pros | Watch-outs |
|---|---|---|---|
| Backyard bin/pile | Yards and gardens | Low cost, flexible inputs | Needs turning and pest awareness |
| Tumbler | Small yards/patios | Easy aeration, neat, faster | Can dry out; limited capacity |
| Vermicompost | Apartments/indoors | Fast for kitchen scraps, minimal space | Temperature sensitive; avoid oily/meaty foods |
| Bokashi | Apartments/small spaces | Sealed, low odor, accepts more scraps | Requires bran and a finishing stage |
If composting has a “secret,” it’s carbon. Most odor issues come from too many wet greens packed together without enough dry, airy browns.
A simple starting ratio is about 2–3 parts browns to 1 part greens by volume. If the bin smells “sour” or like ammonia, add more browns and mix. If it seems dry and stalled, add a few greens and a light sprinkle of water.
Two beginner shortcuts make a big difference: chop scraps smaller to increase surface area, and cover fresh food with a brown layer to reduce flies and keep the surface from getting slimy.
| Add often | Add in moderation | Avoid (most home systems) |
|---|---|---|
| Vegetable scraps, fruit peels, coffee grounds, eggshells | Citrus peels, onion/garlic scraps, bread/grains | Meat, fish, dairy, oily foods, pet waste |
Keep a lidded scrap container near food prep. Next to it, stash browns (a paper bag of shredded cardboard, dried leaves, or torn paper). Convenience is what keeps the habit alive.
Whether it’s a bin, tumbler, or worm bedding, start with a dry, airy layer. It improves airflow and absorbs early moisture.
For deeper technique and science-backed guidance, UC Agriculture and Natural Resources has practical composting resources: https://ucanr.edu/sites/composting/.
Avoid meat, fish, dairy, oily foods, and pet waste in most home systems because they attract pests and can create strong odors. Some specialized methods can handle broader inputs, but beginners usually get the best results by sticking to plant-based scraps and paper-based browns.
Odors are controlled by keeping the mix aerobic: add enough browns, maintain airflow (turn/mix), and keep moisture at “wrung-out sponge” dampness. If a bin smells off, cover fresh scraps with browns, stir to reintroduce oxygen, and dry it out with more carbon.
It can take anywhere from a few months to a year depending on how small the materials are, how often it’s turned, moisture levels, temperature, and the green-to-brown balance. If it’s mostly finished but you see larger bits, screen them out and compost those longer.


Leave a comment