Text-based wall stickers are one of the fastest ways to add personality to a space—without picking up a paintbrush or committing to a gallery wall. A well-chosen phrase can make a blank wall feel finished, reinforce what a room is “for,” or create a focal point above furniture. Best of all, most decals can be removed or swapped as styles change, making them ideal for renters, refresh-happy decorators, and anyone who wants big impact with minimal effort.
The difference between “designed” and “random” usually comes down to a few simple choices: wording, typography, and breathing room. Before you stick anything up, decide what you want the room to feel like and let the message follow.
Placement is what makes a decal feel “built in.” Use your furniture and sightlines as guides, and aim for alignment that looks deliberate from common viewing angles.
| Spot | Best placement | Sizing tip | Style note |
|---|---|---|---|
| Above a sofa | Centered on the seating | About 2/3 the sofa width | Keep to 1–2 lines for a tidy look |
| Over a desk | Centered to the work area | Match monitor/desk width | High contrast improves readability on calls |
| Entryway wall | Eye level near the door | Medium, short phrase | Pair with hooks or a small shelf |
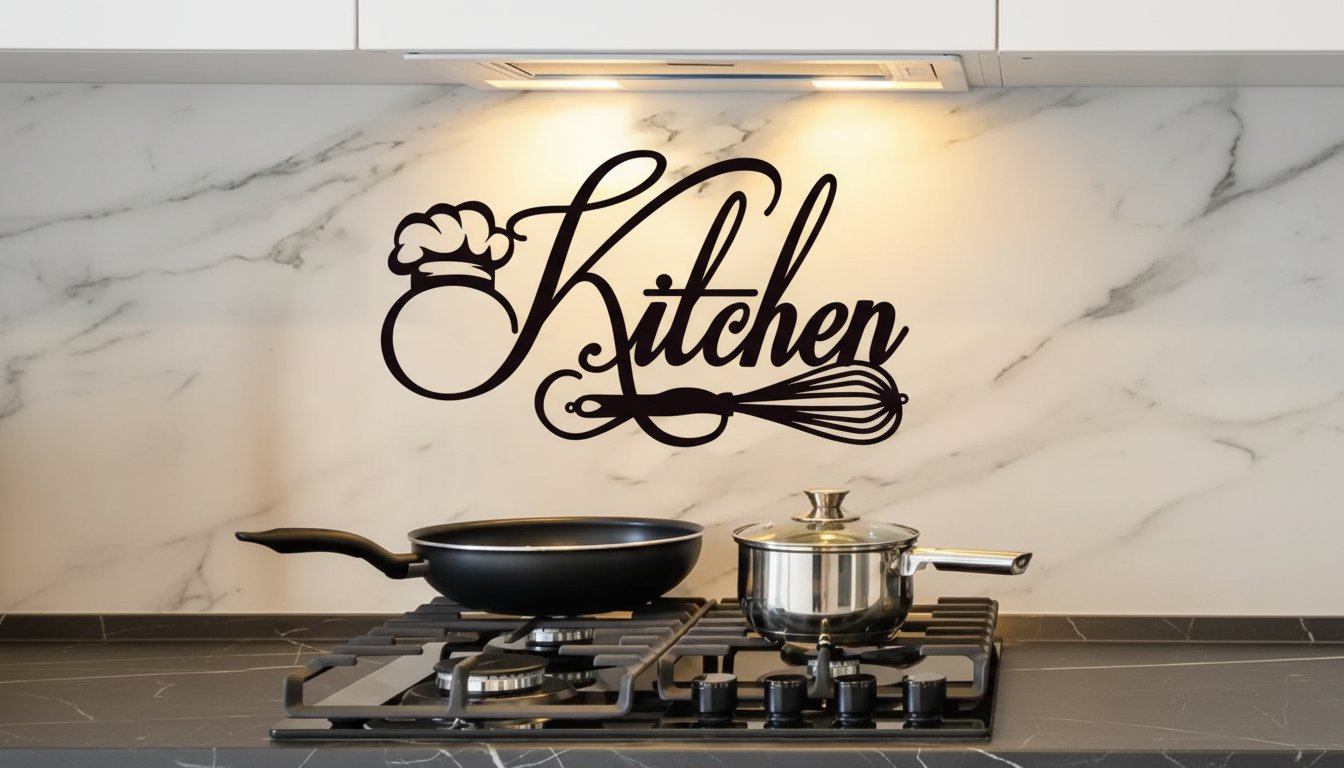
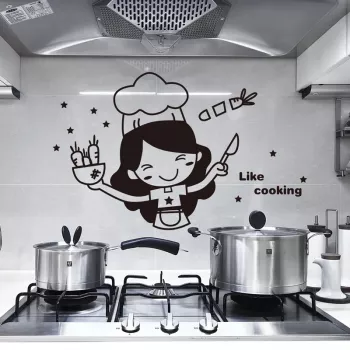
| Kitchen nook | Near coffee/meal prep zone | Compact text block | Choose wipe-friendly wall paint nearby |
| Bedroom headboard | Centered above headboard | Wider but lighter weight font | Avoid visually “heavy” bold letters |
Great results start with the wall itself. Adhesives rely on contact area, so smoother surfaces generally deliver the cleanest edges and longest-lasting hold.
For general background on how adhesives interact with different materials, 3M’s overview is a helpful reference: 3M — Adhesive 101.
A careful install makes even a simple phrase look premium. Plan for a few extra minutes so you can measure, level, and smooth without rushing.
For low-odor upgrades—especially if you’ll apply decals later—choosing coatings with fewer emissions can make a difference in enclosed spaces. Background reading: U.S. EPA — Volatile Organic Compounds’ Impact on Indoor Air Quality.
They typically remove cleanly on well-cured, good-quality paint, but results vary. Use low heat to soften the adhesive, peel slowly at a shallow angle, and test a small corner first—especially on older or fragile paint.
Heavy texture reduces contact area, which often leads to edge lifting on letters and small details. Light “orange-peel” texture may work with careful pressing, but for strongly textured walls, smoother areas or alternative decor can be more reliable.
Follow the paint manufacturer’s guidance, since “dry to the touch” is not the same as fully cured. Waiting for full curing helps prevent bubbling, weak adhesion, or paint lifting during removal.


Leave a comment